×
- Live Chat
- 1-888-505-1906

My Garage
My Account
Cart
Genuine Acura Integra CV Boot
Axle Boot- Select Vehicle by Model
- Select Vehicle by VIN
Select Vehicle by Model
orMake
Model
Year
Select Vehicle by VIN
For the most accurate results, select vehicle by your VIN (Vehicle Identification Number).
28 CV Boots found
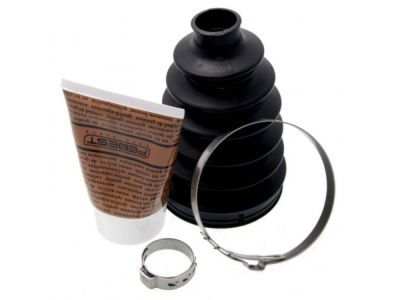
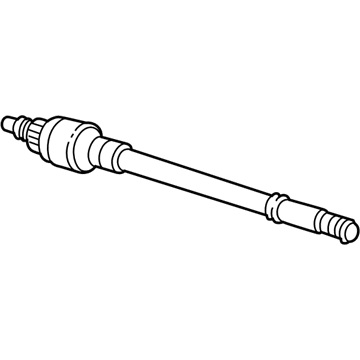
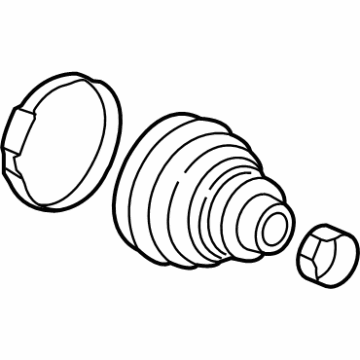
Acura Integra Outboard Boot Set
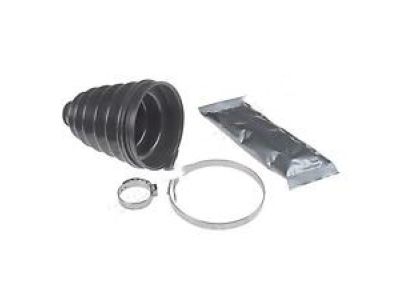
Part Number: 44018-S6M-010$54.75 MSRP: $76.37You Save: $21.62 (29%)Ships in 1-3 Business DaysAcura Integra Boot Set Outboard
Part Number: 44018-ST7-C05$48.66 MSRP: $67.87You Save: $19.21 (29%)Ships in 1-3 Business DaysAcura Integra Inboard Boot Set
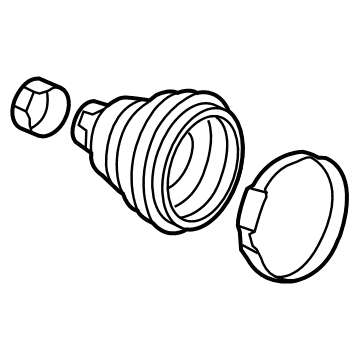
Part Number: 44017-S0A-030$55.81 MSRP: $77.83You Save: $22.02 (29%)Ships in 1-3 Business DaysAcura Integra Outboard Boot Set
Part Number: 44018-ST7-C06$48.66 MSRP: $67.87You Save: $19.21 (29%)Ships in 1-3 Business DaysAcura Integra Inboard Boot
Part Number: 44315-S0K-003$25.98 MSRP: $36.23You Save: $10.25 (29%)Ships in 1-3 Business DaysAcura Integra Boot Set, Inboard
Part Number: 44017-T60-305$127.49 MSRP: $180.07You Save: $52.58 (30%)Ships in 1-2 Business DaysAcura Integra Boot Set, Inboard
Part Number: 44017-TBC-306$49.16 MSRP: $68.57You Save: $19.41 (29%)Ships in 1-3 Business DaysAcura Integra Boot Set, Inboard
Part Number: 44017-TBC-A50$49.52 MSRP: $69.07You Save: $19.55 (29%)Ships in 1-3 Business DaysAcura Integra Boot Set, Outboard
Part Number: 44018-S6M-020$54.75 MSRP: $76.37You Save: $21.62 (29%)Ships in 1-3 Business DaysAcura Integra Boot Set, Outboard
Part Number: 44018-T60-305$107.79 MSRP: $152.25You Save: $44.46 (30%)Ships in 1-2 Business DaysAcura Integra Boot Set, Outboard
Part Number: 44018-T60-306$107.79 MSRP: $152.25You Save: $44.46 (30%)Ships in 1-2 Business DaysAcura Integra Boot Set, Outboard
Part Number: 44018-3K0-H00$47.97 MSRP: $66.90You Save: $18.93 (29%)Ships in 1-3 Business DaysAcura Integra Boot Set, Outboard
Part Number: 44018-T22-305$47.76 MSRP: $66.62You Save: $18.86 (29%)Ships in 1-3 Business DaysAcura Integra Boot Set, Outboard
Part Number: 44018-T20-305$49.27 MSRP: $68.72You Save: $19.45 (29%)Ships in 1-3 Business DaysAcura Integra Boot Set, Outboard
Part Number: 44018-T20-A50$49.27 MSRP: $68.72You Save: $19.45 (29%)Ships in 1-3 Business DaysAcura Integra Boot Set, Inboard
Part Number: 44017-TBF-A00$53.46 MSRP: $74.57You Save: $21.11 (29%)Ships in 1-3 Business DaysAcura Integra Boot Set, Inboard
Part Number: 44017-TBC-A00$57.74 MSRP: $80.53You Save: $22.79 (29%)Ships in 1-3 Business DaysAcura Integra Boot Set, Inboard
Part Number: 44017-T60-306$107.79 MSRP: $152.25You Save: $44.46 (30%)Ships in 1-2 Business Days
| Page 1 of 2 |Next >
1-20 of 28 Results
Acura Integra CV Boot
We provide a broad range of OEM Acura Integra CV Boot at unbeatable prices on our website. For your OEM parts, You can count on the guaranteed quality, manufacturer's warranty, outstanding customer service, and prompt delivery. We look forward to your visit.
Acura Integra CV Boot Parts Questions & Experts Answers
- Q: How do you rebuild or replace worn CV joints and Boot on Acura Integra?A: When the CV joints are worn, and by that I mean have black spots on them, then check around to see if you can get complete rebuilt CV boots on an exchange basis, as this would save the job time and effort. If you decide to rebuild a CV joint, check the cost and availability of parts, prior. Most stores that offer auto parts type replacement boots have a part that is marked "split" which can be installed without removing the CV boot, but it is definitely recommended that the CV boot is removed and the CV joint dismantled to make sure that it's clean. Your first step will be to unwind the CV boot from the vehicle and clamp it in a vise with some kind of protective lining. Cut off the clamps and push the boot to the centre if there are any doubts about the condition of the outer boot. Align marks around outer race and tri pot bearing assembly, remove snap ring and secure bearing rollers with tape then remove tri pot bearing assembly. Clean the old grease out of the components; look for wear in the parts and replace the inner CV joint, if necessary. When installing, don't forget to tape the axleshaft splines when the new boot is reassembled to protect the splines, install tri-pot assembly, and outer snap ring, and apply CV joint grease and pin the bearings with needle. Grease the outer race, install it and make sure it is aligned with the marks made prior. You can adjust the CV boot or CV joint to proper length, equalise the pressure in the boot and install and tighten the new boot clamps. Remove the inner CV joint and mark the position of the dynamic damper if applicable, wash the joints thoroughly and then for the outer joint remove the inner one. Check the CV boot for wear and damage, if it shows deterioration replace. Put the new outer boot on the Axle Shaft, add grease and clamp the boot. Bring it back to home and reinstall the dynamic damper if fitted, doing a visual check of alignment and clean and reassembly of the inner CV joint and install the CV boot.
