×
- Live Chat
- 1-888-505-1906

My Garage
My Account
Cart
Genuine Acura TL Speaker
Car Speakers- Select Vehicle by Model
- Select Vehicle by VIN
Select Vehicle by Model
orMake
Model
Year
Select Vehicle by VIN
For the most accurate results, select vehicle by your VIN (Vehicle Identification Number).
21 Speakers found
Acura TL Rear Speaker Sound System
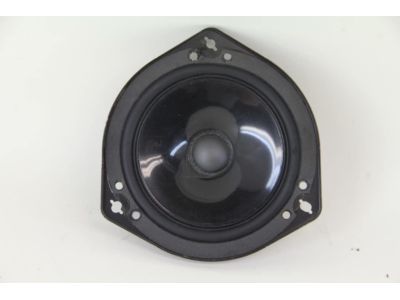
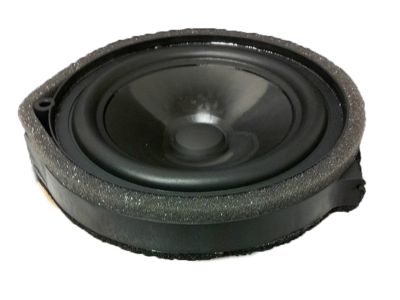
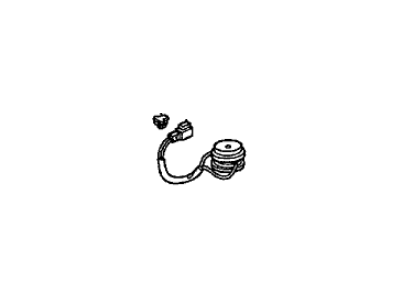
Part Number: 39120-SEP-A41$37.93 MSRP: $52.90You Save: $14.97 (29%)Ships in 1-3 Business DaysAcura TL Tweeter Speaker Assembly (Els) (Panasonic)
Part Number: 39120-TK4-A21$35.96 MSRP: $50.15You Save: $14.19 (29%)Ships in 1-3 Business DaysAcura TL Speaker Assembly (20Cm) (Sld)
Part Number: 39120-SEP-A61$108.29 MSRP: $150.40You Save: $42.11 (28%)Ships in 1-2 Business DaysAcura TL Tweeter Speaker Assembly (Panasonic)
Part Number: 39120-TK4-A01$33.51 MSRP: $46.73You Save: $13.22 (29%)Ships in 1-3 Business DaysAcura TL Speaker Assembly (16Cm) (Single Cone) (Bose)
Part Number: 39120-S0A-903$96.06 MSRP: $154.78You Save: $58.72 (38%)Ships in 1-2 Business DaysAcura TL Front Door Speaker
Part Number: 39120-TK4-A51$43.56 MSRP: $60.75You Save: $17.19 (29%)Ships in 1-3 Business DaysAcura TL Center Speaker Assembly (8Cm) (Panasonic)
Part Number: 39120-TK4-A71$41.61 MSRP: $58.03You Save: $16.42 (29%)Ships in 1-3 Business DaysAcura TL Speaker Foam Repair Kit
Part Number: 39120-SV4-A01$14.57 MSRP: $20.23You Save: $5.66 (28%)Ships in 1-2 Business DaysAcura TL Speaker Assembly (16Cm) (Single Cone) (Bose)
Part Number: 39120-S0A-901$29.70 MSRP: $59.82You Save: $30.12 (51%)Ships in 1-2 Business DaysAcura TL Speaker (2" Cone) (Frame) (Panasonic)
Part Number: 39121-SL5-A01$13.40 MSRP: $107.98You Save: $94.58 (88%)Ships in 1-2 Business DaysAcura TL Tweeter Speaker Assembly
Part Number: 39120-SEP-A11$28.06 MSRP: $39.13You Save: $11.07 (29%)Acura TL Front/Rear Audio Radio Door Speakers Pair Set
Part Number: 39120-STK-A12$43.09 MSRP: $60.10You Save: $17.01 (29%)Acura TL Rear Shelf Radio Audio Speaker Woofer
Part Number: 39120-SEP-A22$92.03 MSRP: $129.12You Save: $37.09 (29%)
| Page 1 of 2 |Next >
1-20 of 21 Results
Acura TL Speaker
We provide a broad range of OEM Acura TL Speaker at unbeatable prices on our website. For your OEM parts, You can count on the guaranteed quality, manufacturer's warranty, outstanding customer service, and prompt delivery. We look forward to your visit.
Acura TL Speaker Parts Questions & Experts Answers
- Q: What steps should be followed to remove and install the radio and speakers on Acura TL?A: Make sure you have the radio anti-theft code and have jotted down the radio station preset frequencies you want to use before you start. For 1999 through 2003 models, start by removing the rear console and console panel, then take out all six radio mounting bolts: Each side has two and two on the front. Uncover the radio and CD console box or radio and climate control unit, as a single assembly, and remove them from the truck by unhooking the appropriate electrical connectors. Remove the two mounting screws to separate CD console box or climate control from the radio. It is the reverse of removal. 2004 or later models have the radio, navigation display screen and HVAC controls combined into one assembly. We'll start by removing the center console rear section, center console panel as well as the upper panel. The audio-HVAC assembly and display module assembly mounting bolts are removed with remove the audio-HVAC assembly and disconnect the antenna cable and electrical connectors. To separate radio from HVAC display module remove the bolts and screws from the side brackets, installation of which is the reverse of this. For door speakers you'll want to remove the door trim panel, remove the three speaker screws, pull the speaker out, disconnect the speaker electrical connector. Reverse of removal is installation. On contact with tweeter and front centre speaker, use a small bit of screw driver to take off the grille and take off the electrical connector carefully, without damaging that thin technological plastic housing. Removal is the opposite of installation. And installation, similar to removal, but remove the rear shelf, remove the speaker mounting screws, pull the speaker from the mounting hole, and unplug the electrical connector.
