×
- Live Chat
- 1-888-505-1906
My Garage
My Account
Cart
Genuine Acura TL Cylinder Head
Head- Select Vehicle by Model
- Select Vehicle by VIN
Select Vehicle by Model
orMake
Model
Year
Select Vehicle by VIN
For the most accurate results, select vehicle by your VIN (Vehicle Identification Number).
42 Cylinder Heads found
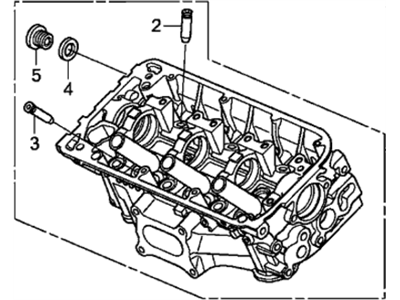
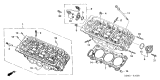
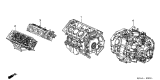
Acura TL Cylinder Head Assembly, Front
Part Number: 12100-R70-305$1248.46 MSRP: $1626.48You Save: $378.02 (24%)Ships in 1-3 Business Days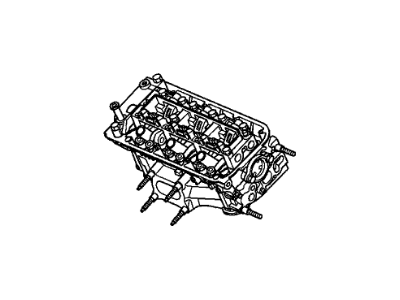

Acura TL Engine Sub-Assembly,Front Head
Part Number: 10004-RK2-A02$5537.39 MSRP: $7299.97You Save: $1762.58 (25%)Ships in 1-3 Business Days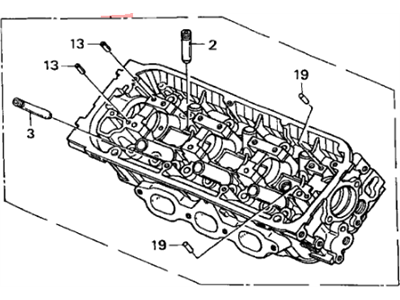
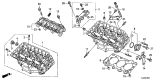
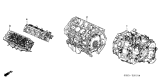
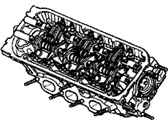
Acura TL Cylinder Head Assembly, Front
Part Number: 12100-P8E-306$375.64 MSRP: $1008.72You Save: $633.08 (63%)Ships in 1-2 Business Days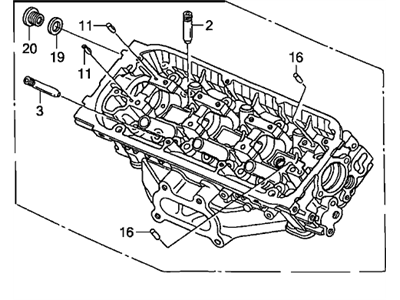
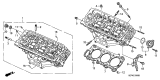
Acura TL Cylinder Head Assembly, Front
Part Number: 12100-RDJ-305$851.34 MSRP: $1122.32You Save: $270.98 (25%)Ships in 1-3 Business Days

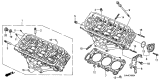
Acura TL Cylinder Head Assembly, Rear
Part Number: 12300-RDJ-305$817.01 MSRP: $1057.69You Save: $240.68 (23%)Ships in 1-3 Business Days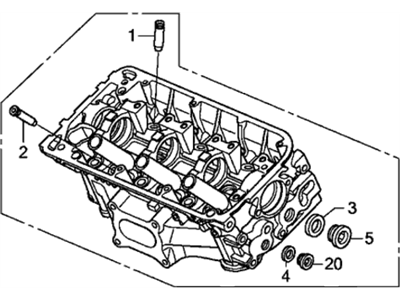

Acura TL Cylinder Head Assembly, Rear (Dot)
Part Number: 12300-R70-810$1248.46 MSRP: $1626.48You Save: $378.02 (24%)Ships in 1-3 Business Days
Acura TL Engine Sub Assembly Front
Part Number: 10004-RDJ-J01$2582.03 MSRP: $3384.52You Save: $802.49 (24%)Ships in 1-3 Business Days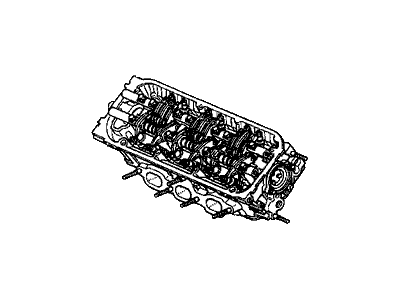

Acura TL General,Frcylinder Head
Part Number: 10004-RDA-305$1131.50 MSRP: $4557.83You Save: $3426.33 (76%)Ships in 1-2 Business Days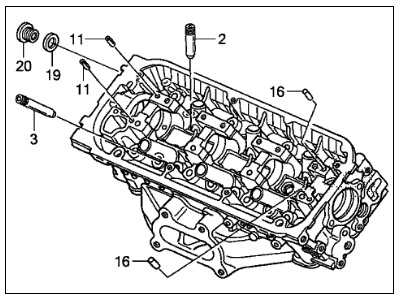
Acura TL Cylinder Head Assembly, Front
Part Number: 12100-RJA-305$2428.41 MSRP: $3201.38You Save: $772.97 (25%)Ships in 1-3 Business Days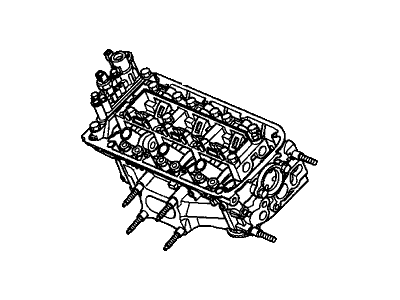
Acura TL Engine Sub-Assembly,Front Head
Part Number: 10004-R72-A02$2815.01 MSRP: $3691.66You Save: $876.65 (24%)Ships in 1-3 Business Days
Acura TL General Assembly, Rear Cylinder Head (Dot)
Part Number: 10005-RDA-A20$2903.29 MSRP: $3808.05You Save: $904.76 (24%)Ships in 1-3 Business Days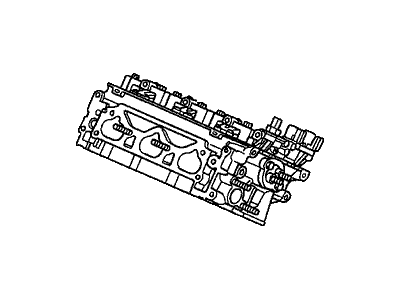
Acura TL Engine Sub-Assembly, Rear Head
Part Number: 10005-R72-A02$3297.06 MSRP: $4327.15You Save: $1030.09 (24%)Ships in 1-3 Business Days
Acura TL General Assembly, Front Cylinder Head
Part Number: 10004-PGE-A02$362.58 MSRP: $3186.53You Save: $2823.95 (89%)Ships in 1-2 Business Days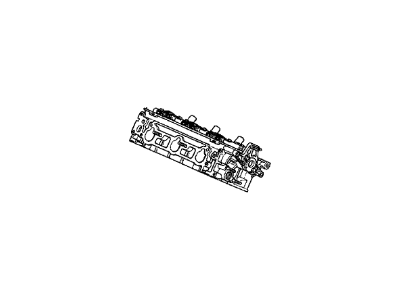
Acura TL General Assembly, Rear Cylinder Head
Part Number: 10005-PGE-A02$362.58 MSRP: $3186.53You Save: $2823.95 (89%)Ships in 1-2 Business DaysAcura TL Engine Sub-Assembly,Front Head
Part Number: 10004-P8E-U00$402.13 MSRP: $3239.67You Save: $2837.54 (88%)Ships in 1-2 Business DaysAcura TL General Assembly, Front Cylinder Head
Part Number: 10004-PVF-A01$829.37 MSRP: $3340.80You Save: $2511.43 (76%)Ships in 1-2 Business Days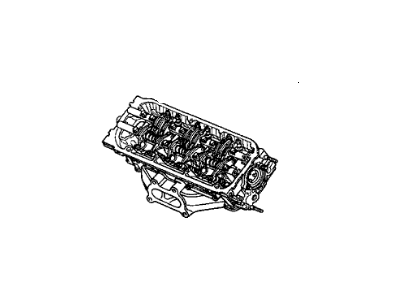

Acura TL General Assembly, Front Cylinder Head
Part Number: 10004-RDB-A00$1305.41 MSRP: $3505.53You Save: $2200.12 (63%)Ships in 1-2 Business Days
Acura TL General Assembly, Rear Cylinder Head
Part Number: 10005-RDA-A01$1434.52 MSRP: $3852.27You Save: $2417.75 (63%)Ships in 1-2 Business DaysAcura TL General,Rear Cylinder
Part Number: 10005-RDA-305$1025.44 MSRP: $4130.57You Save: $3105.13 (76%)Ships in 1-2 Business Days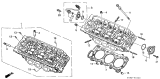
| Page 1 of 3 |Next >
1-20 of 42 Results
Acura TL Cylinder Head
We provide a broad range of OEM Acura TL Cylinder Head at unbeatable prices on our website. For your OEM parts, You can count on the guaranteed quality, manufacturer's warranty, outstanding customer service, and prompt delivery. We look forward to your visit.
Acura TL Cylinder Head Parts Questions & Experts Answers
- Q: How to remove and install a cylinder head on Acura TL?A: To remove the cylinder head, first relieve the fuel system pressure, disconnect the negative battery cable, and drain the cooling system, including the cylinder block. Next, remove the power steering pump without disconnecting the fluid lines, and if the front cylinder head is being removed, take out the alternator. Proceed to remove the upper Intake Manifold, Exhaust Manifolds or converters, Timing Belt, and camshaft sprockets, along with the timing belt rear covers from each cylinder head. Remove the connector brackets from the transaxle side of the front and rear cylinder heads, the coolant passage, Valve Covers, and Rocker Arms/shafts assembly. If the rear cylinder head is being removed, detach the EVAP purge valve joint from its bracket. Remove the fuel rails and injectors, followed by the lower intake manifolds. Loosen the cylinder head bolts in 1/4-turn increments in the opposite sequence of tightening until they can be removed by hand, then lift the cylinder head off the engine block, taking care not to damage the gasket surfaces. For installation, ensure the mating surfaces of the cylinder heads and block are clean, using a plastic gasket scraper and brake system cleaner. Check for any damage on the surfaces and address it as necessary. Chase the threads in the head bolt holes and clean them with compressed air. Clean the oil control orifices and reinstall them with new O-rings, positioning new gaskets over the orifices and locating dowels. Carefully set the head on the block without disturbing the gasket, apply clean engine oil to the threads and under the bolt heads, then install and tighten the bolts in the recommended sequence. The remainder of the installation follows the reverse order of removal, including refilling the cooling system, changing the oil and filter, and running the engine to check for leaks, allowing it to run at low speed for five minutes to bleed air from the lost motion assemblies while monitoring for any persistent tappet noise that may indicate a problem.
Related Acura TL Parts
 Acura TL Cylinder Head Gasket
 Acura TL Timing Cover
 Acura TL Rocker Arm
 Acura TL Camshaft
 Acura TL Rocker Shaft Spring Kit
 Acura TL Spool Valve
Browse by Year
2014 Cylinder Head 2013 Cylinder Head 2012 Cylinder Head 2011 Cylinder Head 2010 Cylinder Head 2009 Cylinder Head 2008 Cylinder Head 2007 Cylinder Head 2006 Cylinder Head 2005 Cylinder Head 2004 Cylinder Head 2003 Cylinder Head 2002 Cylinder Head 2001 Cylinder Head 2000 Cylinder Head 1999 Cylinder Head 1998 Cylinder Head 1997 Cylinder Head 1996 Cylinder Head 1995 Cylinder Head