×
- Hello
- Login or Register
- Quick Links
- Live Chat
- Track Order
- Parts Availability
- RMA
- Help Center
- Contact Us
- Shop for
- Acura Parts
- Acura Accessories

My Garage
My Account
Cart
Genuine Acura TL Door Lock Cylinder
Door Lock Cylinder Tumbler- Select Vehicle by Model
- Select Vehicle by VIN
Select Vehicle by Model
orMake
Model
Year
Select Vehicle by VIN
For the most accurate results, select vehicle by your VIN (Vehicle Identification Number).
7 Door Lock Cylinders found

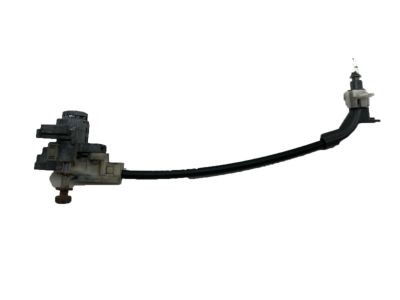
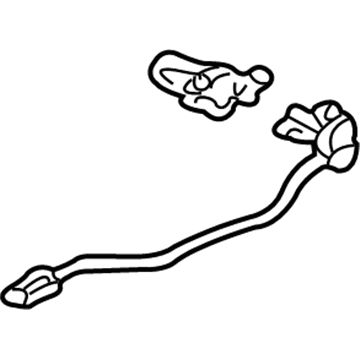
Acura TL Driver Side Door Cylinder
Part Number: 72185-TK4-A01$139.50 MSRP: $197.03You Save: $57.53 (30%)Ships in 1-3 Business Days
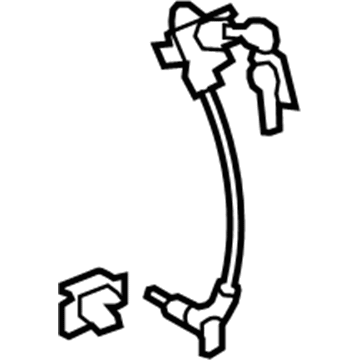
Acura TL Driver Side Door Cylinder
Part Number: 72185-SEP-A01$102.32 MSRP: $143.55You Save: $41.23 (29%)Acura TL Cylinder, Passenger Side Door
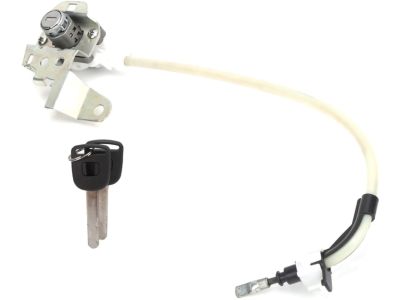
Part Number: 72145-S0K-A01$32.34 MSRP: $65.13You Save: $32.79 (51%)Ships in 1-2 Business Days
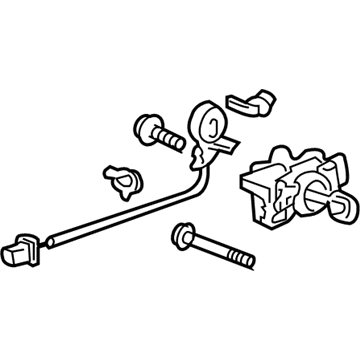
Acura TL Driver Side Door Cylinder
Part Number: 72185-SEP-A11$137.38 MSRP: $194.03You Save: $56.65 (30%)
Acura TL Door Lock Cylinder
We provide a broad range of OEM Acura TL Door Lock Cylinder at unbeatable prices on our website. For your OEM parts, You can count on the guaranteed quality, manufacturer's warranty, outstanding customer service, and prompt delivery. We look forward to your visit.
Acura TL Door Lock Cylinder Parts Questions & Experts Answers
- Q: How do you remove and replace the door latch,Door Handle and lock cylinder on Acura TL?A:For 2003 and earlier models, begin by raising the window and removing the door trim panel and watershield. Access the large hole to remove the glass run channel; for 1999 models, pull it away to remove the bolt and then the center lower channel, while for 2000 to 2003 models, simply remove the center lower channel with the lower glass run channel. Use a small screwdriver to pry off the lock cylinder retainer clip, then pull out the lock cylinder and disconnect the actuator rod. If replacing the lock cylinder, remove the retaining screw and separate it from the lock cylinder switch, then disconnect the switch's electrical connector and detach the harness clips. Remove the O-ring weather seal from the lock cylinder hole, then take out the bolts securing the outside handle protector and remove the handle and protector as a single assembly. Disengage the locator tab securing the protector to the handle and separate them, then detach the harness clip from the protector. Note the distance the outside handle actuator rod protrudes through the junction block, pull out the handle, and pry the actuator rod out. Installation is the reverse of removal. For the door latch, raise the window, remove the door trim panel and watershield, then take out the outside handle. Detach the harness clip, disconnect the actuator rod to the inside handle, and disconnect the electrical connectors. Remove the latch mounting bolts and extract the latch through the door hole, with installation being the reverse of removal. For 2004 and later models, raise the window and remove the door trim panel and watershield, then remove the center lower channel retaining bolt and the channel itself. Disconnect the outside handle actuator rod from the bushing by swinging the plastic lock out of the way and pulling the rod out. Remove the maintenance hole seal from the door, loosen the bolt securing the lock cylinder if working on the driver's door, and disconnect the lock cylinder actuator rod. For the passenger's door, remove the maintenance hole ring and loosen the bolt securing the outside handle cover. Disconnect the lock cylinder switch electrical connector, detach the harness clip, and remove the lock cylinder and switch as a single assembly. Detach the switch from the lock cylinder by removing the retaining screw, pry loose the retaining tab, and remove the outside handle cover. Locate and remove the pin retaining the outside handle base, loosen the base retaining nut, disengage the mounting tab, and slide the base forward. Disconnect the outside handle rod from the base, with installation being the reverse of removal. For the door latch, raise the window glass, remove the door trim panel and watershield, and the center lower channel. Disconnect the outside handle rod and the lock cylinder rod, remove the lock knob retaining screw, detach the clip securing the inside handle cable, and disconnect the actuator electrical connectors from the latch mechanism. Remove the latch mounting screws and extract the latch through the door hole, ensuring not to bend any rods or cables. Installation is the reverse of removal. For the door latch striker, remove the cover and the mounting bolts, then take out the striker. Installation is the reverse of removal, and to adjust the striker, loosen the mounting bolts and move it as necessary to align with the latch mechanism, then retighten the bolts securely.
Related Acura TL Parts
Browse by Year
2014 Door Lock Cylinder 2013 Door Lock Cylinder 2012 Door Lock Cylinder 2011 Door Lock Cylinder 2010 Door Lock Cylinder 2009 Door Lock Cylinder 2008 Door Lock Cylinder 2007 Door Lock Cylinder 2006 Door Lock Cylinder 2005 Door Lock Cylinder 2004 Door Lock Cylinder 2003 Door Lock Cylinder 2002 Door Lock Cylinder 2001 Door Lock Cylinder 2000 Door Lock Cylinder 1999 Door Lock Cylinder 1998 Door Lock Cylinder 1997 Door Lock Cylinder 1996 Door Lock Cylinder 1995 Door Lock Cylinder
