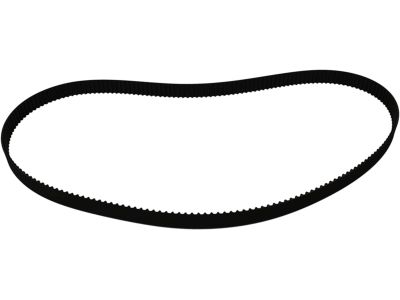
The timing system is complex, and severe engine damage will occur if mistakes are made; therefore, only highly experienced individuals should attempt this procedure, and consulting an expert is advisable if there is any uncertainty. Begin by disconnecting the negative battery cable, placing the transaxle in Park, applying the parking brake, and blocking the rear wheels. Remove the drive belt(s) and spark plugs to facilitate turning the crankshaft, positioning the number one piston at TDC. Loosen the lug nuts on the right front wheel, raise the vehicle securely on jack stands, and remove the wheel. Take off the right front inner fender splash shield and engine cover, then remove the bolt and oil dipstick tube, discarding the old O-ring and installing a new one. Support the engine with a floor jack under the oil pan, remove the bolts and wiring harness retainer for the passenger-side engine mount, and take off the mount and engine mount bracket. Remove the upper timing belt covers, marking the belt for direction if reusing it, and ensure the timing marks are aligned. Remove the torque converter cover, wedge a screwdriver into the drive plate ring gear teeth, and have an assistant unscrew the crankshaft pulley bolt, checking and realigning timing marks afterward. Remove the lower timing belt cover, slip off the timing belt guide plate, and remove a long hold-down bolt from the battery tray to hold the timing belt adjuster in position. Remove the idler pulley bolt and the timing belt, discarding the idler pulley bolt and replacing it with a new one upon installation. If necessary, remove the camshaft sprockets and keys, ensuring not to allow the camshaft(s) to turn. Inspect the sprocket teeth, timing belt, camshaft for excessive endplay, and timing belt tensioner, replacing any worn parts. Clean the timing belt area and sprocket teeth, install any removed sprockets with their keys, and tighten the bolts. Install the idler pulley with a new bolt, recheck the timing marks, and install the timing belt in a clockwise direction, ensuring the arrow on the belt points in the normal direction of rotation if reusing it. Install the outer timing belt guide, tighten the idler pulley bolt, and turn the crankshaft slowly six revolutions clockwise to seat the belt, returning to TDC and rechecking the alignment of the timing marks. If resistance is felt, backtrack to check the timing. Install the lower timing belt cover, crankshaft pulley, and tighten the bolt, then recheck the timing marks. If the timing marks are not aligned, repeat the installation procedure. The remainder of the installation follows the reverse order of removal, and after running the engine, check for coolant or oil leaks. The belt tensioner typically does not need removal for a timing belt replacement, but if it is removed, the tensioner piston will extend. For 1999 models, clamp a mounting ear in a vise, remove the bolt, and turn the internal slot clockwise to retract the tensioner, securing it with a clamp. For later models, compress the tensioner in a press and insert a pin to hold it in the retracted position. Install the tensioner carefully, tightening the mounting bolts, and remove the locating pin after completing the timing belt installation.
Posted by AcuraPartsWarehouse Specialist 


