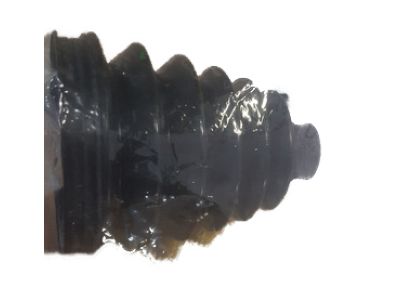
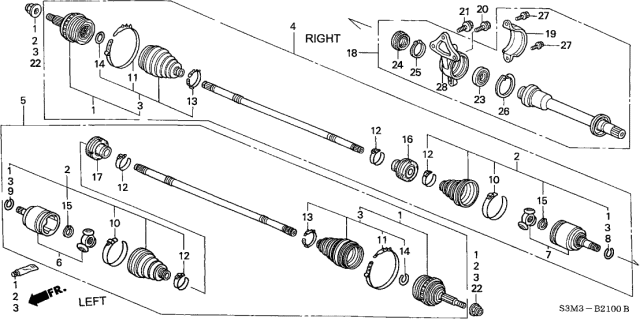
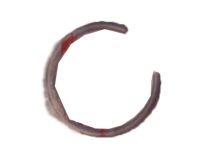
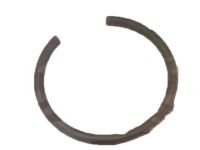
If within this type of job the CV joints are worn then, explore all options before you begin, because the CV axles can be completely rebuilt on an exchange basis, so it is a great time saver and less effort. If you decide to rebuild a CV joint, before disassembling the CV axle, check the cost and availability of parts. First, remove the CV axle, then mount the CV axle in a vise with wood lined jaws. Inspect the CV joints for excessive play, and look at smooth CV joint operation; if a CV boot is torn, disassemble the joint, clean the components, and check for damage. For a good joint, apply CV joint grease and put a new CV boot. Then cut the CV boot clamps, remove the CV boot, and mark the relationship of the joint housing to the tripod. Take the axle shaft and tripod assembly away from the inner joint housing, leaving the rollers behind. Carefully remove the tripod assembly snap-ring, mark the tripod to the axle shaft for proper reassembly, then tap the tripod assembly to the axle shaft with a hammer and brass drift. Thoroughly clean all components and inspect them for wear; if a component is worn, replace entire joint. For manual transaxle models, check the intermediate shaft bearing for smooth operation on right side CV axles. Put tape around the splines on the inner end of the axle shaft to protect the CV boots, and slide the clamps and CV boot on to the axle shaft. The tripod is installed on the shaft, tapped into place and the snap-ring is installed. Grease the tripod assembly and housing, slip the tripod in, and pack in the rest of the grease around it. Make sure the CV boot is positioned correctly, equalize pressure inside the CV boot, and clamp it down properly, with CV boot clamps of a variety. Installation is now ready for the CV axle. With the CV axle removed and the CV boot removed, cut off one band retaining the CV boot, clean the axle shaft, and measure the distance from the marked point to the inner race for the outer CV joint. The outer CV joint is removed with a slide hammer and inspected for bearing surface condition with the bearing faces packed with grease. First of all, wrap the splined area of the original axle shaft in tape, secure the CV boot and clamp around it, grease the CV boot, and press on a new circlip to the splashguard area of the axle, shifting the fit line circlip so that its felt ring faces towards the apex. Place the CV joint assembly on the CV axle, drive it into the position it would have had on the axle, and clamp the CV boot there.
Posted by AcuraPartsWarehouse Specialist 


