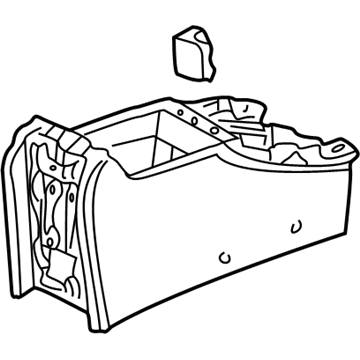
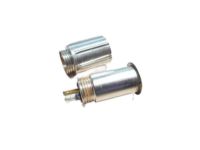
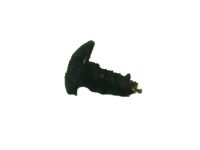
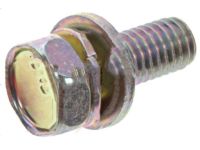
For 2003 and earlier models, carefully pry off the console trim pieces from each side, which are secured by five clips each. Remove the two mounting screws from the front corners of the rear console, then open the lid, take out the mat, and remove the two rear console mounting screws. Pull up the rear console, disconnect the electrical connector for the accessory socket, and remove it. Next, remove the driver's side dashboard lower cover, then take out the screws and clips to remove the left and right front console covers. Remove the shift indicator trim ring and the seat heater switches from the console panel tray, then pry out the console panel tray and release the hooks and tabs. Remove the screws and tabs to take off the console panel, with installation being the reverse of removal. For 2004 and later models, lower the shift lever boot and unscrew the shift lever knob. Use a trim tool to disengage the clips securing the narrow trim pieces, then remove the screws from the front corners of the rear console section. Open the console box lid, remove the storage box mat, and take out the rear console section mounting screws. Slide the rear console section back to disengage the hooks, lift it up, detach the harness clip, and disconnect the electrical connectors for the accessory power socket and light bulb socket. Move the seats back, remove the driver's side dashboard lower cover and glove box, then take off the shift indicator trim ring. For manual transmission models, remove the insert panel secured by tabs, then remove fasteners from each console side cover and disengage the clips. Remove the screws securing the upper part of the center console panel, pull back to release the locator pins, lift the rear end of the panel to disconnect the electrical connectors from the seat heater switches and accessory power socket, and then remove the center console panel, with installation being the reverse of removal.
Posted by AcuraPartsWarehouse Specialist 
