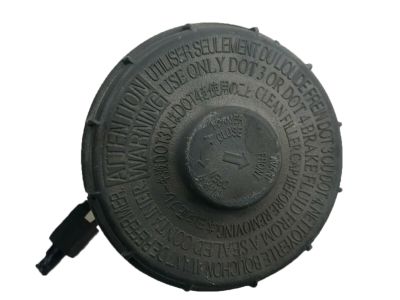
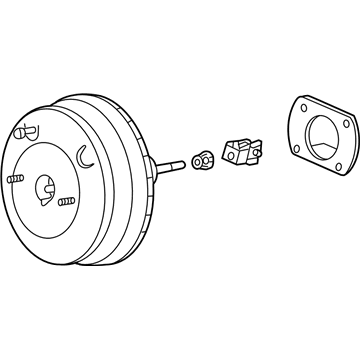
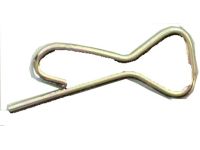
To perform an operating check, depress the brake pedal several times with the engine off to ensure there is no change in the pedal reserve distance, then start the engine; if the pedal goes down slightly, operation is normal. For an airtightness check, start the engine and turn it off after one or two minutes, then depress the brake pedal several times slowly; if the pedal goes down farther the first time but gradually rises after the second or third depression, the booster is airtight. While the engine is running, depress the brake pedal and stop the engine with the pedal depressed; if there is no change in the pedal reserve travel after holding the pedal for 30 seconds, the booster is airtight. Disassembly of the power unit requires special tools and is not ordinarily performed by the home mechanic; if a problem develops, it's recommended that a new or factory rebuilt unit be installed. To remove the booster, first remove the brake master cylinder, then disconnect the hose leading from the engine to the booster, being careful not to damage the hose. For 2003 and earlier models, remove the two mounting bolts for the bracket that secures the fuel line above the booster, the starter cable retainer, and the mounting bolt for the bracket that secures the windshield wiper relay above the booster. For 2004 and later models, remove the air filter housing and detach the brake lines from the clip against the firewall. Working inside the vehicle, locate the pushrod clevis pin connecting the booster to the brake pedal and remove the lock-pin and clevis pin to disconnect the pushrod from the pedal, then remove the four booster mounting nuts holding the brake booster to the firewall. Working outside the vehicle, carefully guide the booster out until the studs and pushrod clevis clear the holes in the firewall, then remove the booster from the engine compartment, taking care not to bend any brake lines or damage the booster studs. If a new power brake booster unit is being installed, measure the length of the pushrod from the center of the clevis hole to the booster's mounting surface, including the gasket in the measurement, and compare it with the required value. Check and adjust the booster pushrod-to-master cylinder clearance to avoid brake drag or excessive brake pedal travel. Using a hand-held vacuum pump, apply a vacuum of 30 in-Hg to the booster and measure the pushrod protrusion from the master cylinder mounting surface, then measure the distance from the mounting flange to the end of the master cylinder and from the end of the master cylinder to the bottom of the pocket in the piston. Subtract the measurements to determine the pushrod clearance, which should be zero; adjust the pushrod length as necessary. For 2004 and later models, install the booster, tighten the retaining nuts, and connect the pushrod to the brake pedal using a new lock-pin. Install the master cylinder and brake hoses and lines, adjust the brake pedal freeplay, and bleed the brakes. The remainder of the installation is the reverse of removal, ensuring to tighten the booster mounting nuts and use a new lock-pin for the clevis pin. Finally, check and adjust the brake pedal height and carefully test the operation of the brakes before placing the vehicle into normal service.
Posted by AcuraPartsWarehouse Specialist 
