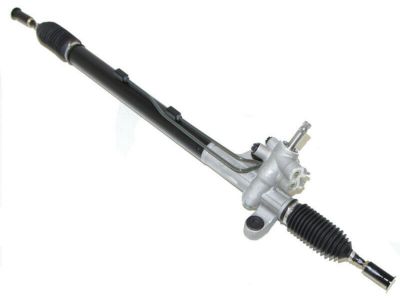
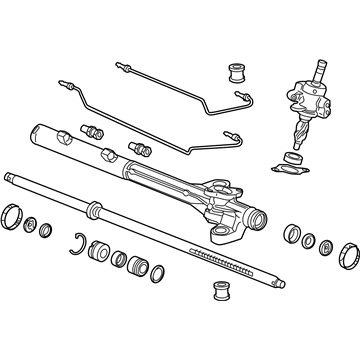
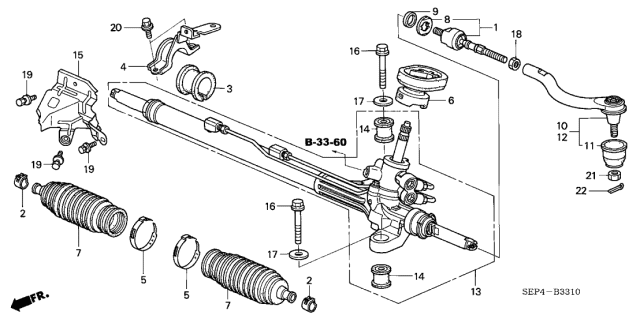
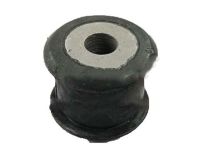
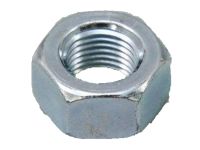
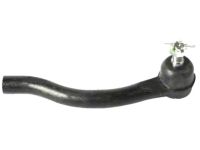
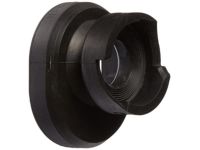
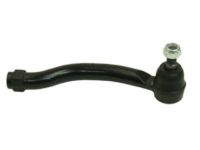
To remove the rack and pinion, begin by ensuring the front wheels are straight ahead and, for 2004 and later models, remove the right-side engine cover along with the left and right rear engine covers. Disconnect the negative battery terminal and remove the power steering fluid from the reservoir using a suction tool or by draining it from the fluid hose. Loosen the front wheel lug nuts, raise the vehicle securely on jackstands positioned behind the front suspension subframe, and remove both front wheels. Next, remove the engine splash shields and under cover, then take off the cover over the steering shaft U-joint from inside the vehicle. For 2004 and later models, lower the rear part of the subframe by about 2 inches, mark the U-joint's relationship to the rack and pinion input shaft, and remove the pinch bolt to separate the U-joint from the input shaft. Discard the small plastic center guide if equipped, and loop wire through the U-joints to keep the sections together. Remove the lower cover protecting the steering shaft U-joint, support the engine from above, detach the tie-rod ends from the steering knuckles, and disconnect the electrical connector on the power steering pressure switch. Remove the engine splash shield and under cover, then support the subframe with two floor jacks positioned midway between the front and rear corners. Remove the rear engine mount-to-subframe mounting bolts, the middle subframe mounts, and loosen the front and rear subframe bracket and mounting bolts without removing them. Carefully lower the jacks until the subframe contacts the loosened bolts, then remove the heat shield and the return hose and feed line brackets. Using a flare nut wrench, remove the return and feed lines from the rack and pinion, capping or plugging all openings to prevent fluid loss. Remove the mounting bolts on both sides of the rack and pinion, move it forward, and remove the rubber grommet from around the input shaft, applying tape around the input shaft for protection. Guide the rack and pinion assembly through the left wheel opening and remove it from the vehicle. For 2003 and earlier models, remove the steering wheel and tape the clockspring in the centered position, mark the U-joint's relationship to the rack and pinion input shaft, and remove both pinch bolts to separate the U-joint. Detach the tie-rods from the steering knuckles, remove the exhaust pipe, disconnect the shift cable if equipped with an automatic transaxle, and disconnect the power steering fluid pressure and return lines, ensuring to cap or plug all openings. Remove the stiffener plates and mounting brackets from the subframe and rack and pinion, support the rack and pinion, and remove the mounting bolts, lowering the unit until the input shaft clears the firewall. Move the rack and pinion towards the passenger side while guiding the driver's side downward to remove it. For installation, reverse the removal steps, ensuring to tighten the rack and pinion mounting bolts to the specified torque, replace the main subframe bolts with new ones, align the subframe, and tighten the mounting bolts. Do not connect the steering shaft to the rack and pinion input shaft until the gear is mounted and the tie-rod ends are attached with the front wheels straight. Fill the power steering pump with the recommended fluid and bleed the system, checking for leaks and rechecking the fluid level. Reconnect the negative battery cable, run the engine to check for proper operation and leaks, and have the front end alignment checked and adjusted.
Posted by AcuraPartsWarehouse Specialist 
