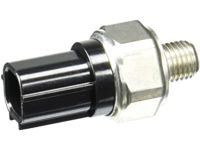
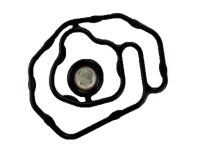
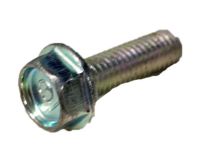
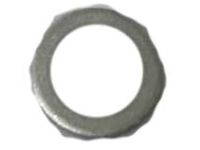
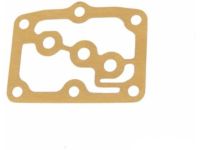
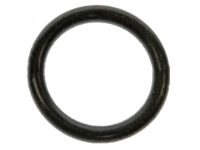
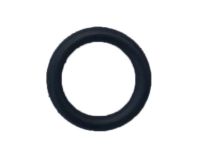
A low-lift, short-duration camshaft intake lobe provides good torque, quick response, fuel economy, and low emissions at lower engine speeds, but struggles to deliver adequate air/fuel mixture at higher speeds, while a high-lift, long-duration intake cam lobe excels in power at high speeds but results in a lumpy idle, poor driveability, fuel wastage, and unacceptable emissions at lower speeds, leading to a compromise between economy and performance. The Variable Valve Timing and Lift Electronic Control (VTEC) system enables an engine to operate efficiently while generating good power. The VTEC system is present in all models discussed, with key differences from non-VTEC engines found in the cylinder head, camshaft(s), and rocker arms, while other components remain identical. Each pair of intake valves on a VTEC engine features two cam lobes with differing lift and duration; the secondary lobe has lower lift and less duration, while the primary lobe has higher lift and more duration. At low speeds, the secondary camshaft lobe operates one intake valve, and the primary cam lobe operates the other, providing good low-end torque. When higher power is required, the PCM activates the VTEC solenoid valve, allowing higher oil pressure to engage a spring-loaded pin in the primary rocker arm, locking the secondary rocker arm to it, so both valves are opened by the primary camshaft lobe, enhancing performance. The PCM controls the VTEC solenoid valve based on various engine parameters, and while diagnosing the VTEC system may be complex, replacing the VTEC solenoid valve or cleaning the system filter is straightforward. The VTEC solenoid valve is positioned at the lower right corner of the engine block, above the VTEC oil pressure switch. To replace it, the vehicle should be raised securely, the solenoid valve located, and the electrical connector disconnected before removing the mounting bolts and the valve itself, ensuring a new O-ring is used during reinstallation. The VTEC oil pressure switch is situated below the VTEC solenoid valve, and its replacement involves similar steps: raising the vehicle, disconnecting the electrical connector, unscrewing the switch, discarding the old O-ring, and ensuring a new O-ring is used upon reinstallation.
Posted by AcuraPartsWarehouse Specialist