×
- Hello
- Login or Register
- Quick Links
- Live Chat
- Track Order
- Parts Availability
- RMA
- Help Center
- Contact Us
- Shop for
- Acura Parts
- Acura Accessories

My Garage
My Account
Cart
Genuine Acura Integra Speaker
Car Speakers- Select Vehicle by Model
- Select Vehicle by VIN
Select Vehicle by Model
orAcura
Integra
Year
Select Vehicle by VIN
For the most accurate results, select vehicle by your VIN (Vehicle Identification Number).
51 Speakers found
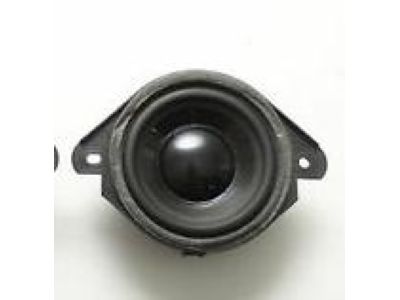
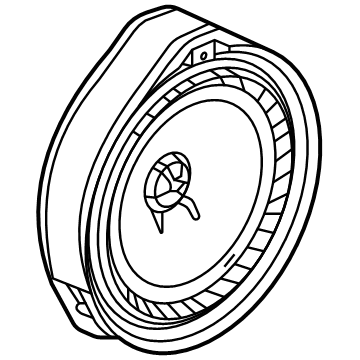
Acura Integra Speaker Assembly (9Cm)
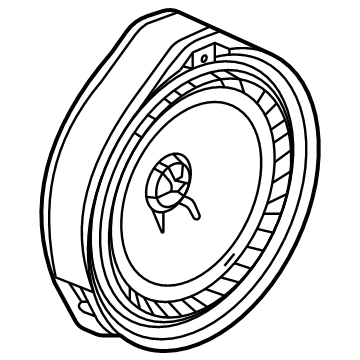
Part Number: 39120-THR-A42$47.02 MSRP: $65.58You Save: $18.56 (29%)Ships in 1-3 Business DaysAcura Integra Speaker Assembly (16Cm Coaxial) (Pioneer)
Part Number: 39120-SM3-961$137.41 MSRP: $194.09You Save: $56.68 (30%)Ships in 1-3 Business DaysAcura Integra Speaker Assembly (17Cm)
Part Number: 8A420-3S5-A01$35.09 MSRP: $48.93You Save: $13.84 (29%)Ships in 1-3 Business DaysAcura Integra Speaker Assembly
Part Number: 8A445-3S5-A01$176.76 MSRP: $249.67You Save: $72.91 (30%)Ships in 1-3 Business DaysAcura Integra Speaker Assembly (17Cm)
Part Number: 8A420-3V0-A01$12.75 MSRP: $17.78You Save: $5.03 (29%)Ships in 1-3 Business DaysAcura Integra Speaker, Tweeter
Part Number: 8A410-3S5-A01$30.85 MSRP: $43.03You Save: $12.18 (29%)Ships in 1-3 Business DaysAcura Integra Speaker Foam Repair Kit
Part Number: 39120-SV4-A01$14.57 MSRP: $20.23You Save: $5.66 (28%)Ships in 1-2 Business DaysAcura Integra Speaker, Tweeter
Part Number: 8A410-3V0-A01$8.27 MSRP: $11.53You Save: $3.26 (29%)Ships in 1-3 Business DaysAcura Integra Array Speaker Assembly
Part Number: 39120-TGV-A11$31.67 MSRP: $44.17You Save: $12.50 (29%)Ships in 1-3 Business DaysAcura Integra Speaker Assembly (17Cm)
Part Number: 8A420-3S5-A21$33.47 MSRP: $46.68You Save: $13.21 (29%)Ships in 1-3 Business DaysAcura Integra Speaker Assembly, Thin (8Cm) (Panasonic)
Part Number: 39120-T6N-A31$47.31 MSRP: $65.98You Save: $18.67 (29%)Ships in 1-3 Business DaysAcura Integra Speaker Assembly (6"X9") (Single) (Pioneer)
Part Number: 39120-SDA-A41$15.39 MSRP: $21.47You Save: $6.08 (29%)Ships in 1-2 Business DaysAcura Integra Speaker Assembly (6"X9") (Single) (Matsushita)
Part Number: 39120-SV4-A11$14.74 MSRP: $20.47You Save: $5.73 (28%)Ships in 1-2 Business DaysAcura Integra Speaker Assembly (160Mm Single)
Part Number: 39120-S04-A01$14.72 MSRP: $20.54You Save: $5.82 (29%)Ships in 1-3 Business DaysAcura Integra Speaker (9Cm)
Part Number: 39121-3S5-A21$58.11 MSRP: $81.05You Save: $22.94 (29%)Ships in 1-3 Business Days
| Page 1 of 3 |Next >
1-20 of 51 Results
Acura Integra Speaker
We provide a broad range of OEM Acura Integra Speaker at unbeatable prices on our website. For your OEM parts, You can count on the guaranteed quality, manufacturer's warranty, outstanding customer service, and prompt delivery. We look forward to your visit.
Acura Integra Speaker Parts Questions & Experts Answers
- Q: How do you remove and install the radio and speakers on Acura Integra?A: The radio and cassette player are separate units on Civic models and a combined unit on Integra and CR-V models. Begin by detaching the cable from the negative terminal of the battery, followed by the positive cable, ensuring you have the correct activation code for any anti-theft system before disconnecting. For Civic and Integra, remove the center console, reach under the radio to take out the two retaining screws, pull out the radio, and unplug the electrical connector and antenna lead. If applicable, disconnect the cassette player lead and remove the cassette player by taking out the mounting bolts. For CR-V models, remove the dashboard center trim panel, then the radio mounting bolts to take out the radio. For speakers, start with the front main speakers by removing the speaker trim cover and mounting screws, then unplugging the electrical connector. For front tweeters, remove the door trim panel, disconnect the tweeter connector, and if on a Civic, remove the side mirror trim before taking out the tweeter. For rear speakers, on a Civic, remove the rear side trim or rear shelf, while for an Integra hatchback, remove the speaker trim cover, and for an Integra sedan, remove screws from inside the trunk to lift off the speaker cover. On CR-V models, remove the speaker trim cover, then take out the speaker mounting screws and lift the speaker out. Installation for all components is the reverse of removal.
