×
- Live Chat
- 1-888-505-1906
My Garage
My Account
Cart
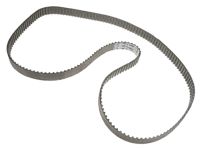
Genuine Acura Legend Timing Belt
Engine Timing Belt- Select Vehicle by Model
- Select Vehicle by VIN
Select Vehicle by Model
orMake
Model
Year
Select Vehicle by VIN
For the most accurate results, select vehicle by your VIN (Vehicle Identification Number).
4 Timing Belts found


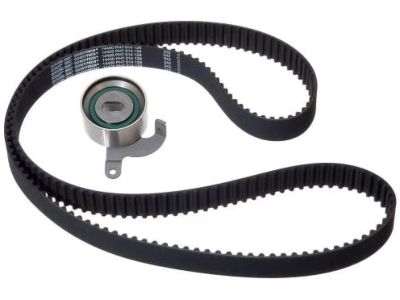
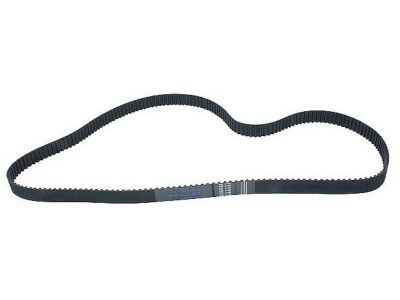


Acura Legend Timing Belt
We provide a broad range of OEM Acura Legend Timing Belt at unbeatable prices on our website. For your OEM parts, You can count on the guaranteed quality, manufacturer's warranty, outstanding customer service, and prompt delivery. We look forward to your visit.
Acura Legend Timing Belt Parts Questions & Experts Answers
- Q: How do you remove and reinstall the Timing Belt and Sprocket on Acura Legend?A: The best way to remove the components is to disconnect the negative cable from the battery, loosen the lug nuts on the right front wheel, but do not remove them. Find the appropriate parking method (manual transaxle is at Neutral or the automatic in Park, apply the parking brake, block rear wheels, raise the front of vehicle and support it with jackstands) and remove the right front wheel. Then take out the right front inner fender splash guard and the drivebelts. Remove alternator, power steering pump and the Engine Mount above to support the engine with floor jack under the Oil Pan, protect with block wood and remove the upper engine mount. Next, take the upper timing belt covers off, and remove the spark plugs in order to turn the crankshaft to expose the number one piston with the piston at TDC. If you are reusing the belt, mark it so that you know the direction of rotation, and that the timing marks are in line. For manual models, the automatic transaxle models, remove the crankshaft pulley with a rag and chain wrench wrapped around the crankshaft pulley. Be careful, if loosening of the crankshaft pulley bolt disturbs the timing marks, then check and realign them. Turn the crankshaft by temporarily reinstalling the crankshaft pulley bolt, and then remove the lower timing belt cover. Slip the timing belt guide off the crankshaft sprocket marking the timing marks and the installation and then loosen the timing belt tensioner bolt and remove the timing belt. If the camshaft sprockets are damaged or are being replaced to remove the oil seals, then it will need to be held from turning whilst the bolts are loosened. Now we can remove the worn or damaged crankshaft sprocket and also (if it is not recessed into the engine block) take off the inner timing belt guide and note its installation. Put bolts on timing belt sprockets which you removed and screw them in, clean timing belt area prior to installation, then installation. Advance the crankshaft 15 degrees (temporarily) then install the inner timing belt guide and crankshaft sprocket checking the timing marks once again. Temporarily move the rear camshaft sprocket forward one half tooth when reusing the original belt, start at crankshaft sprocket and work to the other components. Remove the outer timing belt guide and install it with the chamfered edge away from the belt, loosen the tensioner adjustment bolts to allow the tensioner to move toward the guide and tighten. Seat the belt slowly turn the crankshaft six revolutions clockwise to TDC, nothing hits. Install the lower timing belt cover, align the key-way on the crankshaft so drivebelt pulley is over it, then install the bolt to torque to spec. Winding the crankshaft clockwise nine teeth on the camshaft sprocket, with the blue mark on crankshaft pulley lining up with the pointer on the belt cover. Remove the tensioner bolt and allow it to move into position then tighten to specified torque. Check the timing mark and if not aligned repeat the installation procedure. Then, reinstall the remaining parts in reverse, in the order in which they were removed.