×
- Live Chat
- 1-888-505-1906
My Garage
My Account
Cart
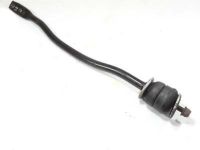
Genuine Acura TL Radius Arm
Front Suspension Radius Arm- Select Vehicle by Model
- Select Vehicle by VIN
Select Vehicle by Model
orMake
Model
Year
Select Vehicle by VIN
For the most accurate results, select vehicle by your VIN (Vehicle Identification Number).
5 Radius Arms found

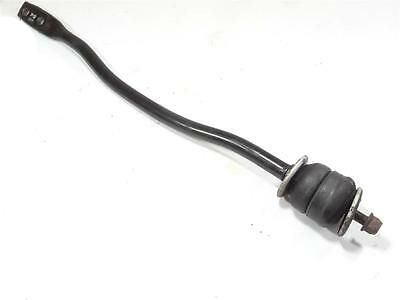


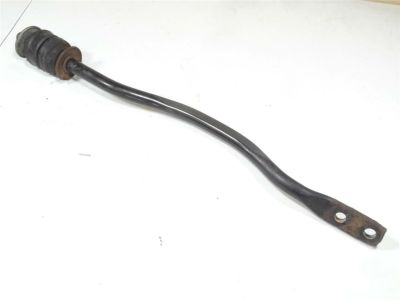
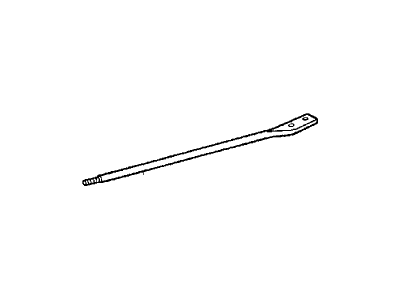

Acura TL Radius Arm
We provide a broad range of OEM Acura TL Radius Arm at unbeatable prices on our website. For your OEM parts, You can count on the guaranteed quality, manufacturer's warranty, outstanding customer service, and prompt delivery. We look forward to your visit.
Acura TL Radius Arm Parts Questions & Experts Answers
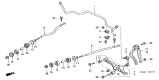
- Q: How to remove and install the front lower control arm and radius rod on Acura TL?A: Only 2003 and earlier models are equipped with a radius rod, while on 2004 and later models, the manufacturer states to replace the control arm-to-subframe mounting fasteners when they are removed. Begin by loosening the front wheel lug nuts, raising the vehicle, placing it securely on jackstands, and removing the wheel. Next, remove the through-bolt and detach the damper fork from the lower control arm, followed by detaching the stabilizer bar link from the lower control arm. Remove the cotter pin from the castle nut on the lower ball joint stud and loosen the nut approximately one-quarter inch without removing it to prevent uncontrolled separation of components. Use a two-jaw puller or equivalent to separate the lower control arm from the ball joint in the Steering Knuckle, then remove the nut. For 2004 and later models, remove the pivot and mounting bolts from the inner end of the lower control arm before removing the arm. For 2003 and earlier models, remove the two radius rod bolts fastening the radius rod to the control arm, then remove the pivot bolt from the inner end of the control arm and take out the arm. To completely remove the radius rod, take off the mounting nut at the subframe while guiding the radius rod out of the large washers and bushings, noting a smaller washer that may be a shim for adjusting the caster angle for front wheel alignment, which should be returned to the same position upon installation. Hold the other end of the radius rod with a wrench if it rotates while removing the mounting nut. Installation is the reverse of removal, ensuring to raise the outer end of the control arm with a floor jack to simulate normal ride height before tightening the pivot bolt and mounting bolt for the control arm. Install a new cotter pin, use new control arm mounting fasteners on 2004 and later models, tighten all fasteners to the specified torque values, and use a new self-locking nut for installing the radius rod to the subframe if it was removed. Finally, tighten the wheel lug nuts to the specified torque and test-drive the vehicle, checking for any concerns regarding handling and wheel alignment, and have the front end alignment checked and adjusted if necessary.