×
- Hello
- Login or Register
- Quick Links
- Live Chat
- Track Order
- Parts Availability
- RMA
- Help Center
- Contact Us
- Shop for
- Acura Parts
- Acura Accessories

My Garage
My Account
Cart
Genuine Acura MDX Trailing Arm
Trailing Control Arm- Select Vehicle by Model
- Select Vehicle by VIN
Select Vehicle by Model
orMake
Model
Year
Select Vehicle by VIN
For the most accurate results, select vehicle by your VIN (Vehicle Identification Number).
8 Trailing Arms found

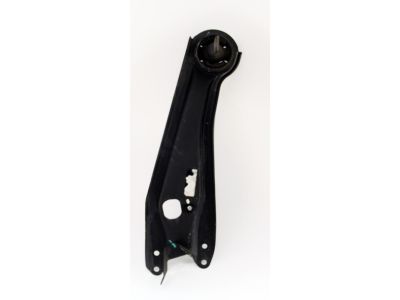
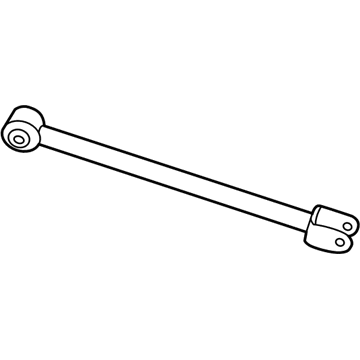
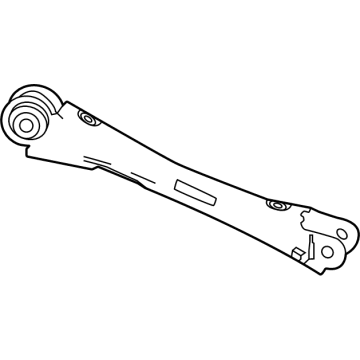
Acura MDX Rear Right Trailing Arm
Part Number: 52371-STX-A02$156.92 MSRP: $221.63You Save: $64.71 (30%)Ships in 1-3 Business Days
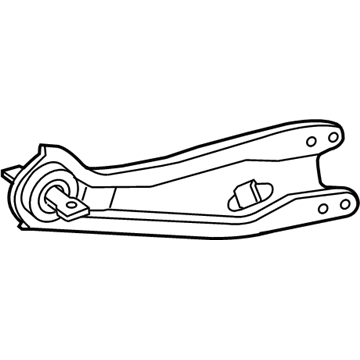
Acura MDX Suspension Control Arm
Part Number: 52372-STX-A02$156.92 MSRP: $221.63You Save: $64.71 (30%)Ships in 1-3 Business Days
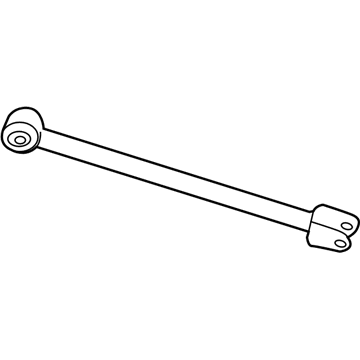
Acura MDX Lower-A Left Rear Arm Complete
Part Number: 52375-TZ5-A91$54.77 MSRP: $76.38You Save: $21.61 (29%)Ships in 1-3 Business Days
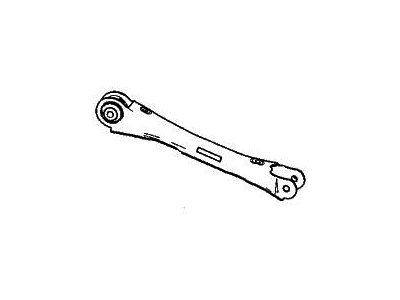
Acura MDX Rear A Right Arm Component
Part Number: 52370-TYA-A01$76.65 MSRP: $107.53You Save: $30.88 (29%)Ships in 1-3 Business DaysAcura MDX Lower-A Right Rear Arm Complete
Part Number: 52370-TZ5-A91$54.77 MSRP: $76.38You Save: $21.61 (29%)Ships in 1-3 Business DaysAcura MDX Right Rear Trailing Arm Assembly
Part Number: 52371-S3V-A00$149.35 MSRP: $210.95You Save: $61.60 (30%)Ships in 1-3 Business Days
Acura MDX Rear A Left Control Arm Component
Part Number: 52375-TYA-A01$76.65 MSRP: $107.53You Save: $30.88 (29%)Acura MDX Left Rear Trailing Arm Assembly
Part Number: 52372-S3V-A00$149.35 MSRP: $210.95You Save: $61.60 (30%)
Acura MDX Trailing Arm
The Trailing Arm in Acura MDX vehicles refers to the automobile component known as the trailing-link suspension system, a bar that binds the axle to the chassis to limit the movement of the axle and thus improving on handling of the car with least affects from the movement. Acura MDX Trailing Arms may differ from each other by the Trailing-Arm Suspension where links and Panhard rod are used to locate the wheel and the Semi-Trailing Arm Suspension which can be identified with a large triangular arm that pivots at two points for the more flexible rear suspension. These designs, most often used in rear wheels of such cars as the Acura MDX, help increase space for the stowage of cargo as well as provide for better ride comfort over inequalities.
We provide a broad range of OEM Acura MDX Trailing Arm at unbeatable prices on our website. For your OEM parts, You can count on the guaranteed quality, manufacturer's warranty, outstanding customer service, and prompt delivery. We look forward to your visit.
Acura MDX Trailing Arm Parts Questions & Experts Answers
- Q: How to remove and install rear Trailing Arm and rear knuckle on a Acura MDX?A:Loosen the rear wheel lug nuts. Raise the rear of the vehicle and support it securely on jack stands. Block the front wheels to prevent the vehicle from rolling. Remove the wheel. If you are removing the rear Steering Knuckle, loosen the drive-axle/hub nut. UPPER ARM Note: A special tool, available at most auto parts stores, is necessary to separate the upper arm Ball Joint from the rear Steering Knuckle. Support the lower arm B with a floor jack placed under the coil spring pocket. Remove the lock pin from the castle nut on the ball joint stud. Loosen the nut until there is a small gap between the Steering Knuckle and the nut. Install the ball joint separating tool, being careful not to tear the ball joint grease seal. Note: Apply grease to the portion of the tool that contacts the ball joint grease seal and to the threads of the bolt on the tool. Once the ball joint stud has been released from the Steering Knuckle, remove the castle nut and separate the arm from the Steering Knuckle completely. Remove the upper arm-to-sub frame mounting boll, then remove the arm. Installation is the reverse of removal, noting the following points:Tighten the ball joint stud castle nut to the lower torque figure, then, if necessary, tighten it a little more to line up the slots in the nut with the hole in the stud.Install a new lock pin.Raise the lower arm B with a floor jack to simulate normal ride height, then tighten the arm-to-sub frame bolt to the torque.Tighten the wheel lug nuts to the torque. LOWER ARM A Support the lower arm B with a floor jack placed under the coil spring pocket. Remove the lower arm-to-sub frame mounting bolt and the lower arm-to-Steering Knuckle mounting nut and washer. On 2007 Acura MDX models, remove the front trailing arm mounting bolls. Remove the arm from the vehicle. Installation is the reverse of the removal procedure. Be sure to install the washer on the arm-to-Steering Knuckle mounting stud with the concave side facing away from the arm. Before tightening the fasteners to the torque, raise the rear sus-pension with the floor jack to simulate normal ride height. Tighten the wheel lug nuts to the torque. LOWER ARM B Pilot and MDX models Support the lower arm B with a floor jack placed under the coil spring pocket. Remove the ABS wheel speed sensor harness from the lower arm. Remove the bolt securing the arm to the Steering Knuckle. Slowly lower the floor jack until the coil spring is extended, then remove the coil spring. Mark the relationship of the toe adjuster cam to the sub frame, then remove the pivot bolt and nut from the inner end of the arm. Remove the arm from the vehicle. Ridgeline models Support the lower arm B with a floor jack placed under the shock/coil spring assembly pocket and raise the suspension until it begins to compress. Remove the two nuts/bolts that secure the shock/coil spring assembly to the lower arm B. Remove the Steering Knuckle to lower arm B boll/nut and slowly lower the control arm. Mark the relationship of the toe adjuster cam to the sub frame then remove the pivot boll/nut from the inner end of the lower arm B. Remove the lower arm B from the vehicle. All models Installation is the reverse of removal, noting the following points:Align the mark you made on the toe adjuster cam with the mark on the sub frame.Raise the outer end of lower arm B with a floor jack to simulate normal ride height, then tighten the fasteners to the torque.Tighten the wheel lug nuts to the torque.Have the rear wheel alignment checked and, if necessary, adjusted. TRAILING ARM Remove the parking brake shoe assembly. Unbolt the brake hose and brake line brackets from the trailing arm. Unbolt the parking brake cable brackets. Support the lower arm B with a floor jack placed under the coil spring pocket. Remove the trailing arm-to-Steering Knuckle bolts, then remove the trailing arm-to-chassis mounting bolts. Remove the trailing arm. Installation is the reverse of removal, noting the following points:Tighten all fasteners to the proper torque specifications.It won't be necessary to bleed the brakes unless a hydraulic fitting was loosened.Have the rear wheel alignment checked and, if necessary, adjusted. REAR Steering Knuckle Remove the parking brake shoe assembly. On 4WD models, remove the drive axle/hub nut and discard it. On 2WD models, remove the axle shaft from the hub. On 2007 Acura MDX models, remove the hub and bearing assembly. Unbolt the brake hose bracket from the trailing arm and the brake line bracket from the Steering Knuckle. Remove the ABS wheel speed sensor and harness from the Steering Knuckle, then carefully place it aside. Note: There is no need to disconnect the electrical connector for the sensor. Support the lower arm B with a floor jack placed under the coil spring pocket. Detach the upper arm from the Steering Knuckle. Detach lower arm A from the Steering Knuckle. Detach the trailing arm from the Steering Knuckle. Detach the lower arm B from the Steering Knuckle. On 4WD models, carefully push the drive axle while removing the Steering Knuckle. Use a puller if the drive axle is stuck in the hub. CAUTION: Do not pull on the drive axle because the inner CV joint could separate. Installation is the reverse of removal, noting the following points:Tighten the ball joint stud castle nut to the lower torque figure, then, if necessary, tighten it a little more to line up the slots in the nut with the hole in the stud. Install a new lock pin.Install a new drive axle/hub nut.Raise the lower arm B with a floor jack, then lighten the fasteners to the torque.Tighten the wheel lug nuts to the torque.Tighten the drive axle/hub nut to the torque.
Browse by Year
2024 Trailing Arm 2023 Trailing Arm 2022 Trailing Arm 2020 Trailing Arm 2019 Trailing Arm 2018 Trailing Arm 2017 Trailing Arm 2016 Trailing Arm 2015 Trailing Arm 2014 Trailing Arm 2013 Trailing Arm 2012 Trailing Arm 2011 Trailing Arm 2010 Trailing Arm 2009 Trailing Arm 2008 Trailing Arm 2007 Trailing Arm 2006 Trailing Arm 2005 Trailing Arm 2004 Trailing Arm 2003 Trailing Arm 2002 Trailing Arm 2001 Trailing Arm
